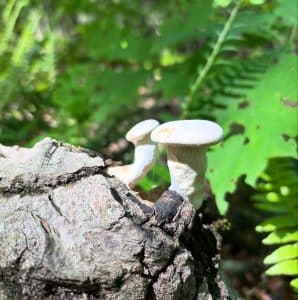
Courtesy of Benson Udoh of Umuntu Integrated Farms, Nigeria
BASIC STEPS IN OYSTER MUSHROOM FARMING:
Requirements:
- Growing Space
- Spawn(Seeds)
- Substrates preparation
- Bagging the substrates
- Sterilizing/Pasteurizing your substrates
- Inoculation of your substrates bag
- Incubating the substrates
- Fruiting(harvest time)
You will need…
- Straw (the medium for growing the mushrooms in)
- Containers (for soaking straw)
- Plastic bags (or reusable containers for holding straw
- Elastic bands or string (to constrict bag opening)
- Cotton wool (to filter out contaminants)
- Barrel or drum (for pasteurising the straw)
- Material liner (for holding bags within barrel)
- Gas burner (for heating barrel)
- Bleach spray (to clean growing room)
- Spoon, gloves, clean clothes, face mask (to look the part when inoculating straw)
- A growing area that can retain moisture in the air, shaded with some light Possibly plastic sheeting (to help retain humidity & to reduce other unwanted moulds)
- Mushroom spawn
- A water or weed sprayer (to increase humidity within growing room)
- A thermometer and hygrometer (to keep an eye on temperature and relative humidity).
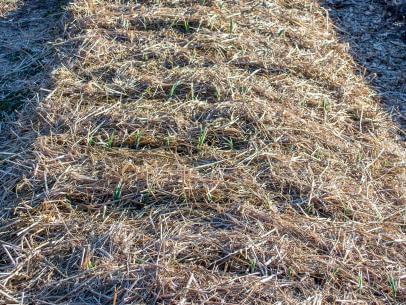
This is how your substrate looks like, mostly gotten from straw, rice, wheat and rye residue (like after harvest)
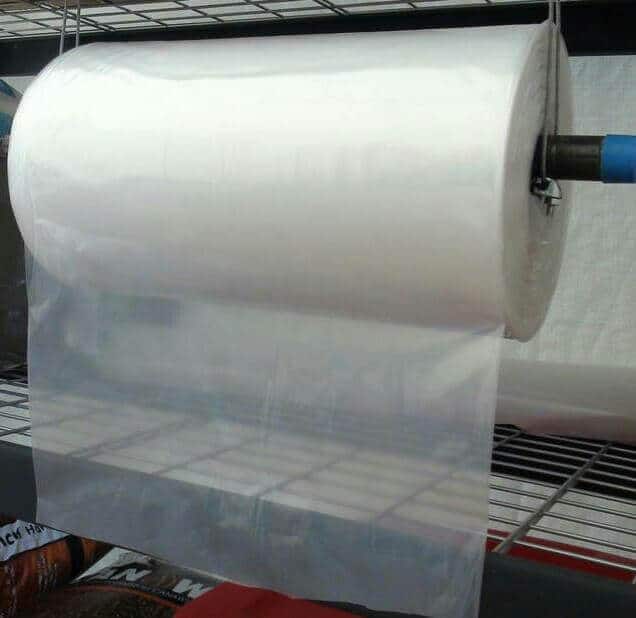
This is a sample plastic (nylon) bag used to keep your substrate intact in order to cultivate your mushroom.
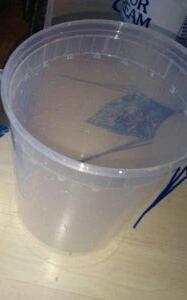
This is an example of a container that can be used for your mushroom cultivation. Other containers can also be used
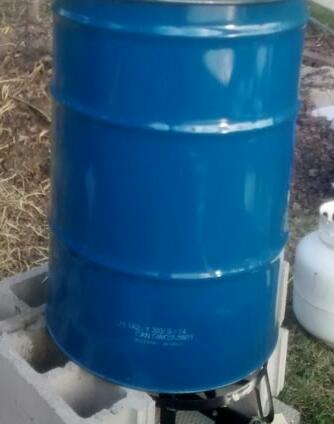
This is how a barrel or drum looks like. Again, you can improvise your own, provided it is clean and uncontaminated.
Basic Conditions Required for Cultivating Mushroom
Growing Space: This can be categorized as your farm land/garden in the normal conventional farming. Note: This can rage from that little space in your house or backyard, or it can mean an abandon poultry house or a vacant parcel of land or renting of a space in an existing mushroom farm. Thinking of a large hectares of land to begin is not necessary
Humidifier: Mushroom require high humidity to grow so to grow them in house, one must create humid environment indoor. That is why you only see mushroom during the wet season, Mushroom require 90 percent humidity to bring out their fruit bodies, so you will need humidifier or in the alternative you can hang cloth in the fruit chamber and mist regularly, to create a humid environment.
Thermometer: You will also need Thermometer to monitor the various temperature of sterilization and temperature in the fruiting room.
Sterilizer: There are so many spores in the air, so if you don’t sterilize your substrate at high temperature other mushroom can colonize your substrate. Sterilization kills off all other spore and contaminants and allow your own mushroom spawn to grow.
Substrate: Seeds and stem of green plant grow on the soil, mushroom grow on substrate since they are saprophytic in nature they grow on dead and decaying organic matter. Not on soil. So any organic matter that you want to grow your mushroom on is called *substrate* they may include;
- Sawdust
- Paper
- maize cobs
- rice bran
- rice husk
- Or any dead organic matter
(Depending on the type of mushroom, you may or may not need to compost it) Oyster mushroom will grow on any type of substrate.
Spawn: Seed of green plant germinate when planted and stem cutting also germinate, in mushroom the planting material is called spawns
Inoculation: In crops, the process of seeds sprouting is known as germination. In the case of Mushroom, it is known as Inoculation. So, your mushroom is inoculating when the fruit body begins to sprout.
Simple Steps of producing Oyster Mushroom from Sawdust
Remember that mushrooms are fungi, they grow on dead organic matters like trees. They help nature in the decomposition of tree trunk.
To produce mushrooms from Sawdust, you need sawdust that is almost decaying. Fresh sawdust have resin that will prevent decomposition.
Don’t go directly to the tree-felling machine to collect your sawdust. Get the ones that has being dumped for long. Mushrooms grow freely in the forest on woods. But how many mushrooms can you get from the forest/bush? Really not enough, hence the need to grow as many as you want by yourself.
That’s why we are bringing the forest to our home by using sawdust (wood)
To produce mushroom from Saw dust you need the following simple materials;
- 100kg of sawdust, or (10kg sawdust)
- 5kg of wheat bran, or (500grams wheat bran)
- 1-2kg of calcium carbonate/chalk powder, or (100gram calcium carbonate)
- Thin nylon sheets/plastic bags
- Rubber band, PVC pipe, cut into 1 inch pieces.
- Metal barrel
- Mattress foam cut into small pieces,
- Hand gloves
- Nose guard
- Spoon
- Growing room (warm dark room)
- Fruiting room (fresh air, %60-%70 humidity and a little light.
This is a farm setup. Notice that there are nozzles attached to spray water so as to maintain moisture/humidity
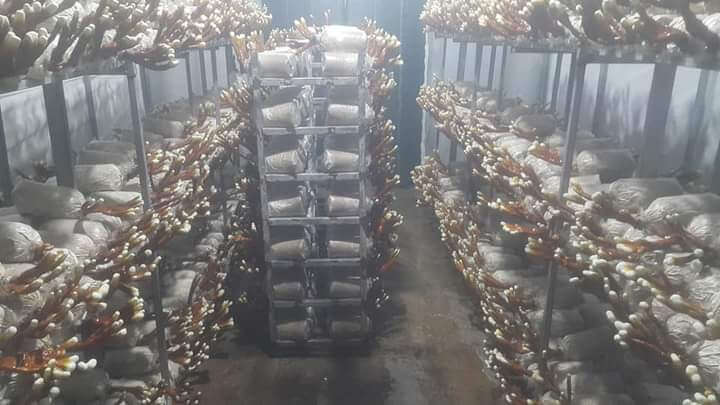
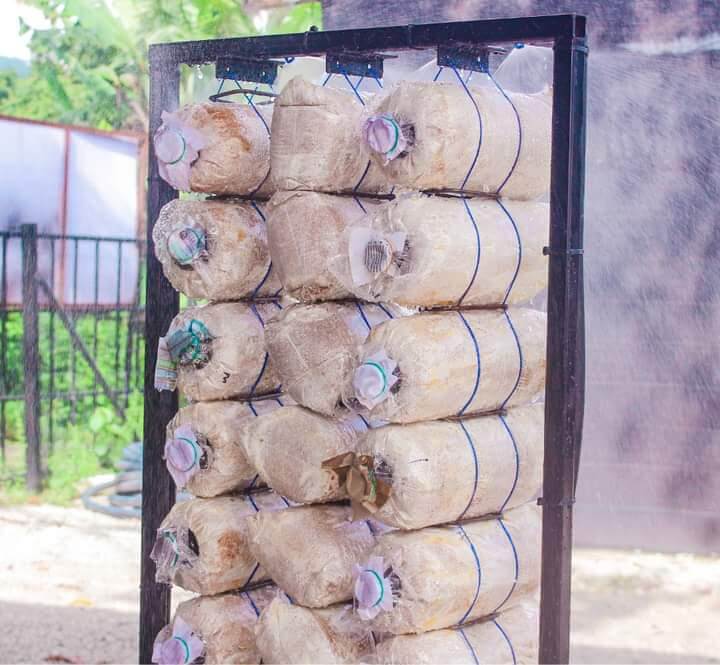
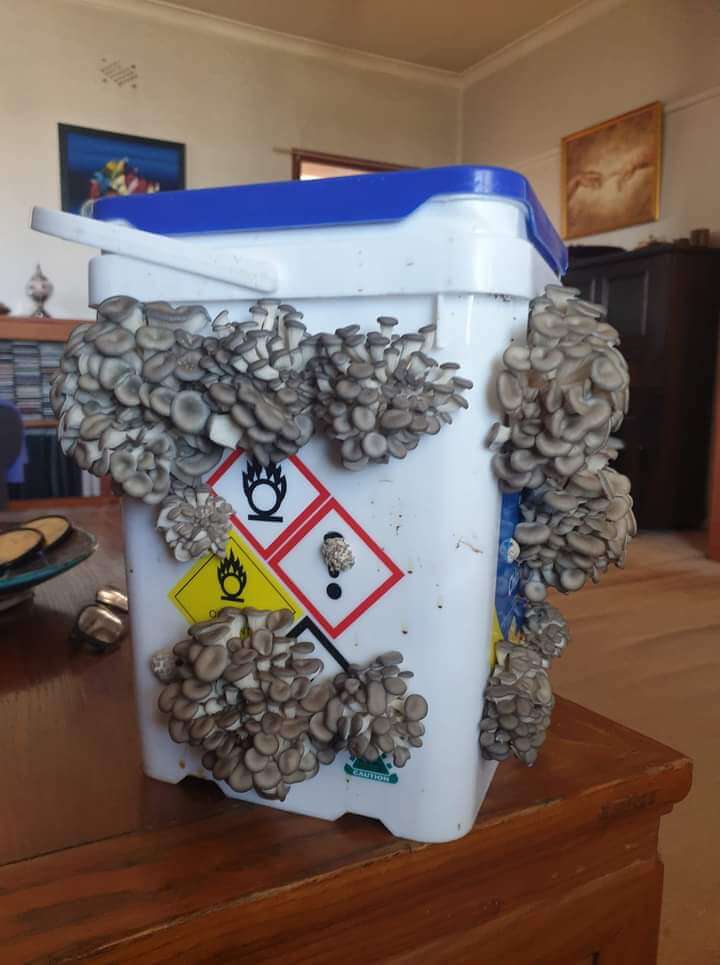
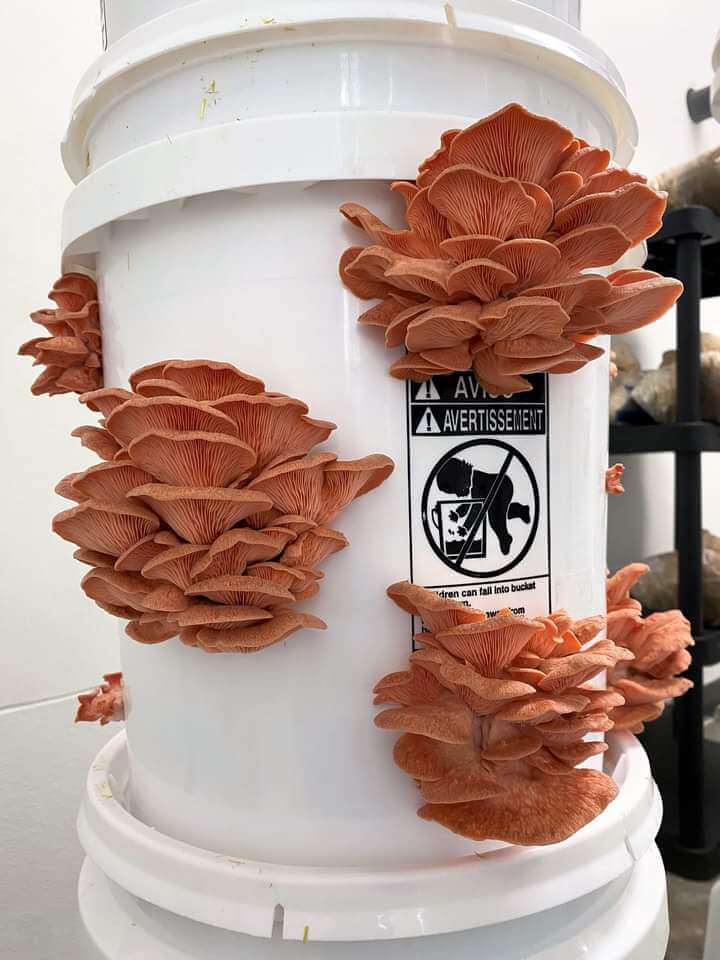
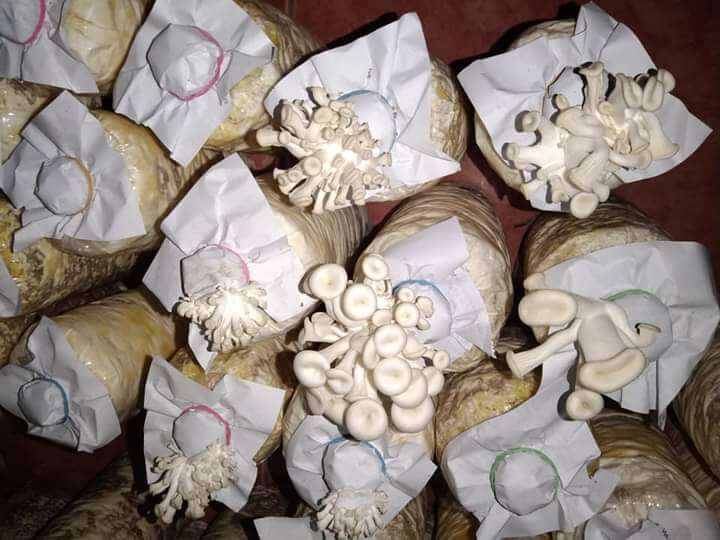
Depending on your level of production, you will need a metal barrel that can take about 60-70 kg of compost nylon at once.
The barrel also must have a cover with protective lock.
You can also use large pots,(the larger the pot the larger the compost it will contain)
Line the barrel with sack or thick nylon and pour water inside to a quarter of the barrel (notice that there are three rings in a drum).
Make a wooden stand in the drum just a little above the water level (you can use the small stool in your sitting room, simply put it inside the drum)
Now, Arrange all the compost inside the drum then cover it. (Invert the last compost upside down so the steam can reach everywhere).
Fire the barrel continuously for two hours then allow it to cool completely.
INOCULATION
Move all the bags to the inoculation room (dark, dry and ventilated)
What you need for inoculation
– Spawns (mushrooms seed),
– Bowl,
– Spoon,
– Hand gloves,
– Nose guard and
– Disinfectant (methylated spirit or hydrogen peroxide).
Before you enter your inoculation room, wash your hands and feet with disinfectant. This measure is just to ensure a sterile environment and prevent contamination of your mushroom spores.
Spray disinfectant all through the room, on your hand, on the bowl, spoon and on the spawn bottle with a spraying bottle.
Now, open the spawn, break it with the spoon and pour it inside the bowl.
Note: spawn is white in color or light brown depending on age. Any green spawn is contaminated. Please do not bother to open such spawn bottle in your growing room.
Mushroom naturally propagates themselves by producing spores which are not visible to the unclad eyes. There are millions of spores in the air. Do not open your spawn until you are ready to inoculate.
Now, gently open the substrate bag and spread few grain of the spawn inside, then cover the substrate. It is called inoculation.
Do this for all the substrate bags.
After spreading the spawn on all the substrate bags, leave the substrate in the growing room for about 14days for full colonization to take place.
How much spawn do I need?
You need 1 bottle of spawn to inoculate 12-15 bags of compost. Keep the substrate in a dark room, with adequate ventilation. Also guide against rats, they love to feed on spawn, the smell is attractive so be ready to wage war against the rats.
After complete colonization, (that is, the sawdust will be consumed by the mushroom, and the substrate will turn white). When this happens the mushroom substrates are moved to fruiting room.
Check the compost bags for contamination such as green, yellow or orange bags, remove immediately.
Fruiting Room
(Maintain fresh air, 60% – 70% humidity and a little light)
Remove the foam, rubber band and PVC pipe.
Open the bag and cut the bag from the bottom to the top.
Arrange the bags on a shelf with the open cut facing up.
Make sure there’s enough flow of air in the fruiting room.
Spray the bag with water daily (you can improvise with a plastic bottle by drilling a small hole on the cover; it will serve as your water sprayer).
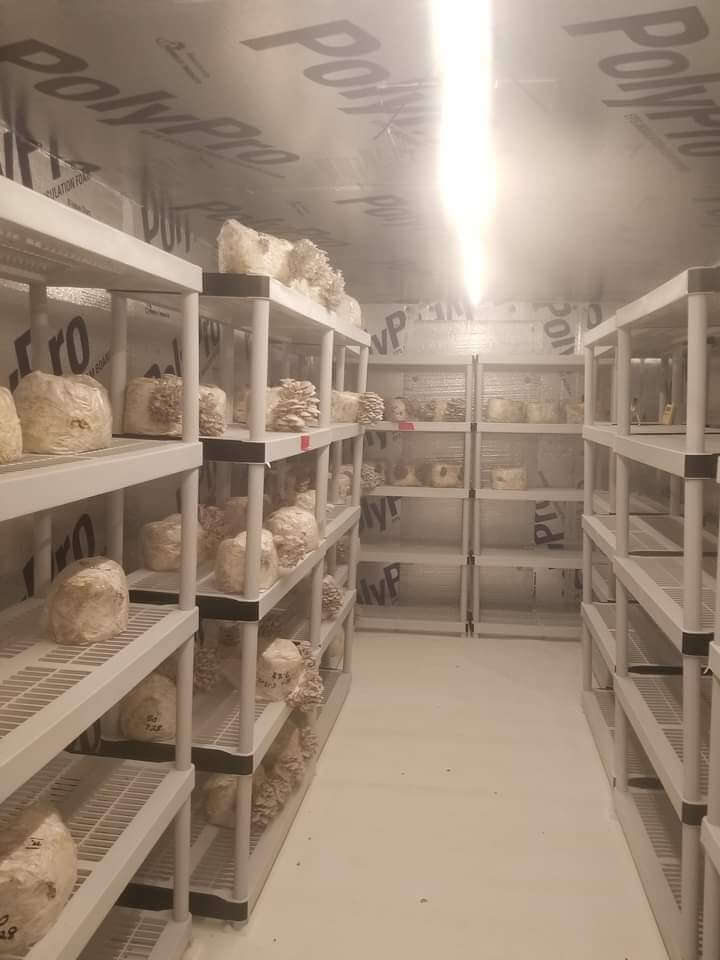
All images courtesy of Umuntu Integrated Farms, Nigeria
Many of our readers find that subscribing to Eat The Planet is the best way to make sure they don't miss any of our valuable information about wild edibles.
See our privacy policy for more information about ads on this site

